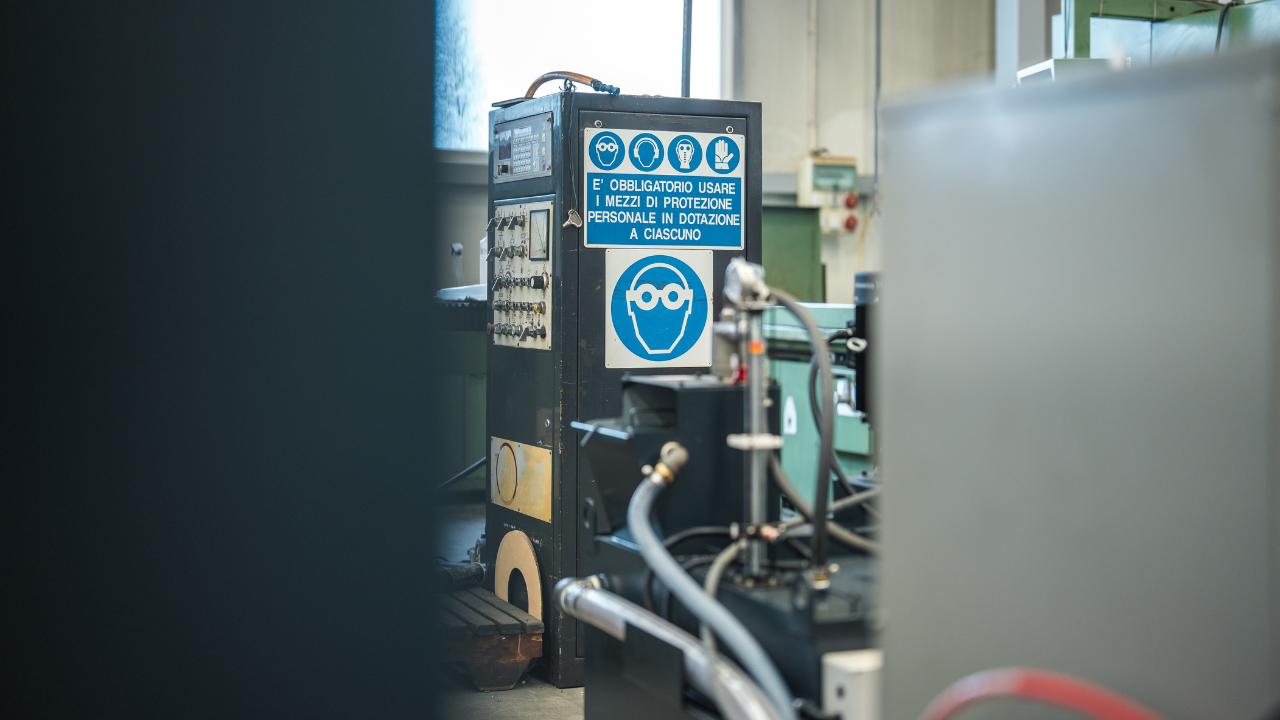
Leaky Shaft Seals
Dan Wise, Maintenance Resources
Many people operate rotary screw compressors with oil seeping from around the shaft. This housekeeping nuisance and waste of expensive oil can be avoided with a better understanding of the shaft seal.
The mechanical seal and lip seal are the most common types of shaft seals used on Rotary Screw compressors. The following provides further information specific to each of these styles.
Mechanical Seals
Most mechanical shaft seals work on the same basic principle. A contact sealing face composed of soft, sacrificial face material forms a seal against a hard material.
Seal faces are lapped to within two to four helium light bands (.0000232 to .0000464 inches). This critical tolerance makes a shaft seal one of the most precise pieces of equipment in your facility.
The common design has a carbon rotating element that is bonded to the shaft with a Buna N or Viton boot. This seals to a steel or a ceramic stationary seat in the housing. Compressors with total closure (air tight) air inlet valves typically used these seals because they could withstand full system pressure reversal during shutdown.
Many mechanical seals are designed as a lubricated part. This means that there is usually an oil feed line to the seal and an oil scavenge line from the seal.
The shaft seal may weep oil continuously while running if something plugs the scavenge line. This line usually attaches to a fitting on the bottom of the shaft seal housing. The fitting and the scavenge line should be checked before replacing the seal.
Also, some air ends may have a check valve in the seal scavenge line or in the inlet valve area where it connects. This can cause a seal to leak if it fails.
Sometimes a leaky mechanical seal is accompanied by a jingling sound from the drive end. This is an indicator of a broken seal spring.
The coil springs are responsible for pushing the rotating seal up against the stationary seat, compensating for wear throughout its lifetime. However, the springs can break and cause the jingling sound. Take quick action to replace the seal before the broken components cause further damage.
Installation Tips, Mechanical Seals
The seal manufactures instructions should be followed when replacing a mechanical seal. Make sure you lube up the inside of the rubber boot before assembly.
Some seal manufacturers recommend using petroleum jelly while others suggest using the compressor oil or light mineral oil. The lubricant allows the rubber sealing boot to slide on the shaft during assembly and bond to the shaft shortly afterward.
A final note about mechanical seals. When replacing the seal housing, always make sure the housing and gasket line up properly with the scavenge line porting on the airend.
Lip Seals
Lip seals retain the oil inside the airend while keeping air, dust and dirt from entering along the rotating shaft when the machine is off load. Remember, when the inlet valve closes and the airend continues to rotate, a vacuum may be pulled on the inlet end.
Some lip seals are made of a high nitrile Buna N or Viton rubber encased in steel and were designed to withstand only a few pounds of back pressure. Compressors with these lip seals rely on airend discharge valves, oil stop valves and a fast acting sump blow down valve to prevent the system pressure from slipping back up through stopped rotors and pressurizing the drive side of the airend.
Rubber lip seals can not withstand high pressures. A leaky seal of this type may be an indicator of a bad airend check valve or oil stop valve which will allow full discharge pressure to reach the seal.
The newer style of lip seals use Teflon (trademark). These are much stiffer and can withstand high pressure as well as synthetic compressor oils.
In general, lip seals are more sensitive, than mechanical seals, to shaft runout and surface irregularities. A lip seal will often leak oil if the shaft has a total indicated runout of more than only a few thousands of an inch.
You can not assume that because the shaft runs true when spun by hand that it will do so at speed. Therefore, it is even more important that you check the radial or side play in the shaft before replacing a leaking lip seal.
An out of balance coupling or drive belt pulley will cause shaft runout in an airend with a worn bearing. Tight belts will also pull the shaft away from the original center line as bearing wear increases. This puts all excess clearance on one side of the seal.
You should isolate the machine and loosen the belts or coupling. Then, push the shaft back and forth while measuring shaft deflection with a dial indicator to check for bearing wear.
Excessive movement in the shaft, especially in belt driven units, is a warning that more serious damage may be occurring inside the airend. It is always better to discover this before it is too late.
Installation Tips, Rubber Lip Seals
If the shaft is round and running true, you can use a Loctite (trademark) sealant between the seal and the seal housing when replacing a rubber lip type shaft seal. Press the seal into the seal housing and lube it up with compressor oil.
Oil the shaft and , after installing new seal housing gaskets or o-rings, slide the seal and housing onto the shaft. On shafts with no reduction to the keyed drive area, a dummy key way plug may be required to avoid shaft damage. Be careful to center the seal housing while sliding it on, ease the seal over the shaft and carefully tighten down the housing bolts in a crossing pattern.
Teflon (trademark) shaft seals are becoming more popular in the newer airend designs. The single and double lip seals made from Teflon (trademark) allow the manufacturer to eliminate the airend check valve and the oil stop valve from the compressor package.
The Teflon (trademark) lip seals can not tolerate shaft runout. In addition, these seals can cut a groove in the shaft due to the abrasive nature of the tough seal material and the contaminants in the oil. Therefore, most better airend manufacturers design removable shaft seal sleeves to take the wear.
Installation Tips, Teflon (trademark) Lip Seals
It is recommended that the seal sleeve be replaced every time the Teflon (trademark) seal is replaced. Also, the sleeve may have an o-ring behind it which must be replaced.
A Loctite (trademark) sealant should be used to seal the sleeve to the shaft because, pressured and heated oil can weep under the sleeve even if the Teflon seal has seated perfectly.
When installing a Teflon (trademark) seal after replacing the seal sleeve, you can apply sealant to the outside of the seal casing and press it into the seal housing. Teflon (trademark) seals must be installed using a mandrel type seal installation tool. This expands the seal lips as hey slide over it and the shaft seal surface.
Avoid putting oil on the shaft sleeve or on the Teflon (trademark) seal. These seals simply work better when they are installed dry.
When the compressor is started, a small amount of Teflon (trademark) seal material is deposited on the sleeve to ensure a prefect airtight seal. Be careful not to knick the inner lip of the shaft seal as an irregularity will cause a leak.
If you damage a seal during the assembly, it is best to toss it in the trash and start over with a new seal. It is never a good idea to put a compressor back in service with a questionable shaft seal.
Cures for the Common Leak
A seal should not leak more than three drops during the first 15 minutes after installation. This is normal during the break in period of 15 to 30 minutes. More than 3 drops probably indicates an installation error.
Common installation errors include failing to protect the sealing surfaces and failing to check critical dimensions and seal position. These reasons, plus contaminated lubrication, are the 3 most common causes of leaky shaft seals. The following has more details.
- Protect Sealing Surfaces: The shaft or shaft sleeve must be closely inspected for any burrs or sharp edges before positioning the seal during installation. Pay careful attention to key ways and setscrew areas.A common mistake is to use a knife or sharp edged tool to remove an o-ring that is to reused. You can prevent cutting an o-ring by using a tooth pick.The o-ring material is also important. Replacement o-rings must be made from material that is compatible with the compressor lubricant and operating conditions.The seal must be handled with care. Never drop or bump a shaft seal.
- Check Dimensions and Position: Failure to check the position of the seal on the shaft, to ensure that the seal faces are loaded correctly, will cause seal leakage.The specifications for shaft radial runout and axial movement should be obtained from the compressor service manual before installing a shaft seal. The shaft radial runout should be checked with a dial indicator to ensure the total indicator reading does not exceed the OEM specification. Also, the axial movement should not exceed the OEM specification.Seal housings must be concentric and perpendicular to the rotating member. The compressor bearings should be checked or adjusted, if possible, because the seal will leak if the above mentioned tolerances are not met.
- Fluid Contamination: The seal must be filled with cool, clean and filtered lubricant for proper performance.The rotating member of the shaft seal is in constant axial motion varying from .001 to .002 inch. This movement can be induced by normal runout, vibration, cavitation, coupling misalignment and bearing tolerances.The seal uses springs and elastomers to compensate for the axial movement. If this compensation stops for any reason, solid contaminates can become trapped between the seal faces.The trapped contamination will imbed in the soft face causing it to act as a grinding wheel and destroy the hard face. Also, contamination in the seal area can clog springs and bellows and may erode the sliding components of the mechanical seal.
The seal will not require any special consideration if the fluid is free of contamination and relatively cool. However, some fluids under varying conditions can cause damage to a seal.
The fluid should be analyzed if installation errors are eliminated as the source of seal leakage. A visual inspection is not enough because even new oil can be very dirty.
Subtle problems in this area can easily be overlooked or taken for granted which will result in a leaky seal.
Related Articles

OEE: Overall Equipment Effectiveness
What the Pump Was Designed to Do and Why it Doesn't Do it
What is Wrong with the Modern Centrifugal Pump?

Digging Up Savings: Go with the Flow
Chain Drive Design Recommendations

Classifying Chemicals to Assure Effective Sealing
