[webinar] Embracing Digital Transformation in Maintenance & Plant Operations | March 13 at 10AM EST – Register Now
The Trouble with Torque in Electrical Connections
The Trouble with Torque in Electrical Connections
Norman Shackman, P.E.
Torque and force are not the same.
The secret to making and keeping reliable electrical connections is contained in two elements: start with clean contact surfaces, and apply high force. Clean contact surfaces are a function of cleaning procedures, including joint compounds, and will be covered in a future article. Application of high force is the subject here.
The trouble comes about because the terms “torque” and “force” are incorrectly used interchangeably. Force is NOT torque. Force is a function of torque. The expression which describes the relationship is:
F = T/K
Note that the equation has a variable, K, that includes the coefficient of friction. The higher the friction, the lower the force for the same torque. Torque is a convenient way to get at force and is usually specified in making an electrical connection. Force is considered inconvenient to measure.
Torque can be misleading
Consider the following:
Suppose you are given a torque value for an electrical connection and suppose that the connection is frozen due to corrosion, arcing, etc. Obviously, the recommended torque will not assure a good connection. Thus, relying on torque to judge the quality of an electrical connection can be misleading.
Levels in uncertainty in the accompanying section, “Force Variations by Methods of Tightening Connections,” are taken from mechanical engineering sources and represent a rough estimate of the percent variation encountered when trying to tighten a connection using different methods.
You can see there is a wide variation in accuracy depending upon the method and that many of them are fairly inaccurate. In fact, when considering life safety, torque values are rarely mentioned.
What is the correct force? When a connection is tightened, the joint electrical resistance drops as the force increases, up to a certain point. Beyond that certain amount of force, a marked decrease in resistance no longer occurs; the resistance remains fairly constant even with increased force. That certain amount of force is the minimum value of force needed.
In bolted connections, I have found that the forces associated with SAE Grade 5 hardware produce this correct value.
Applying Proper Force
To assure you are applying the proper force in a connection, there are a few methods which can be utilized:
Low and consistent K factor by the use of lubrication. You can produce repeatable, high forces in the connection. To safely use lubricants, run tests in the shop before applying on the job.
A well-lubricated fastener is stressed to a higher force for the same torque than an unlubricated one. Check that the fastener does not fracture at the higher force. Having conducted tests, then apply the selected torque to the lubricated threads.
Belleville washers. These are not always required in electrical connections and are often questionable. The washer must flatten at the proper force and many applications do not use a high enough force. In addition, since the bow in the washer is difficult to see, Bellevilles are sometimes installed upside down. If a proper high force is utilized in the connection, I have found that a Belleville is usually not necessary.
But a Belleville is an excellent force indicator and therefore can solve the force/torque dilemma. If you choose a Belleville that flattens at the desired force, you then can proceed with implementing the connections and not worry about a torque value.
Direct tension indicators. As mentioned previously, in mechanical connections where life safety is a subject of concern (e.g., buildings, bridges, etc.), torque is not mentioned. Instead measurement of force is required.
A common procedure is the use of direct tension indicators. These are washer-like devices that feature protrusions (bumps) which flatten as a function of force applied to the connection. A feeler gauge is used to announce when the proper force is reached. Later inspection is simple through the use of a feeler gauge. Since the indicators are designed for use with steel, make sure the bumps are put against a hardened steel washer, not a copper or aluminum bus.
These devises are available for 1/2 in. hardware and larger. It is possible to use the 1/2 in. indicator with smaller hardware by requesting the force/gap characteristics from the manufacturer and then selecting the proper feeler gauge for the desired force. Make sure the gauge is narrow enough to fit between the bumps.
Method
Percent variation (+/-) in force
Feel (experienced installer)*
35
Torque wrench*
25
Turn of nut (snug tight, then 1/2-2/3 turn more)*
15
Lubricated assembly*
10
Belleville washer**
5
Direct tension indicator**
5
*depends on K **independent of K
Norman Shackman, P.E., is based in Kent. CT. He conducts in-house seminars on electrical connections and can be reached at (860) 927-4067.
Oil analysis is essential for maintaining equipment reliability and life span. In this process, data analysts assess whether samples indicate abnormal working surface wear and tear likely to impede performance or shorten specific equipment life span. The problem is, traditional analysis occurs after the fact. By then, signs of wear and tear when finally detected threaten optimal operation and increase the possibility of downtime.
Oil analysis is essential for maintaining equipment reliability and life span. In this process, data analysts assess whether samples indicate abnormal working surface wear and tear likely to impede performance or shorten specific equipment life span. The problem is, traditional analysis occurs after the fact. By then, signs of wear and tear when finally detected threaten optimal operation and increase the possibility of downtime.
This article has several related themes. The main purpose is to give an overview of the engineering education process, relating theory to practical application. As part of this overview, I express gratitude to the scientists, mathematicians, and engineers who have guided my own education. This education is the foundation of my engineering career, as my experiences demonstrate.
This article has several related themes. The main purpose is to give an overview of the engineering education process, relating theory to practical application. As part of this overview, I express gratitude to the scientists, mathematicians, and engineers who have guided my own education. This education is the foundation of my engineering career, as my experiences demonstrate.
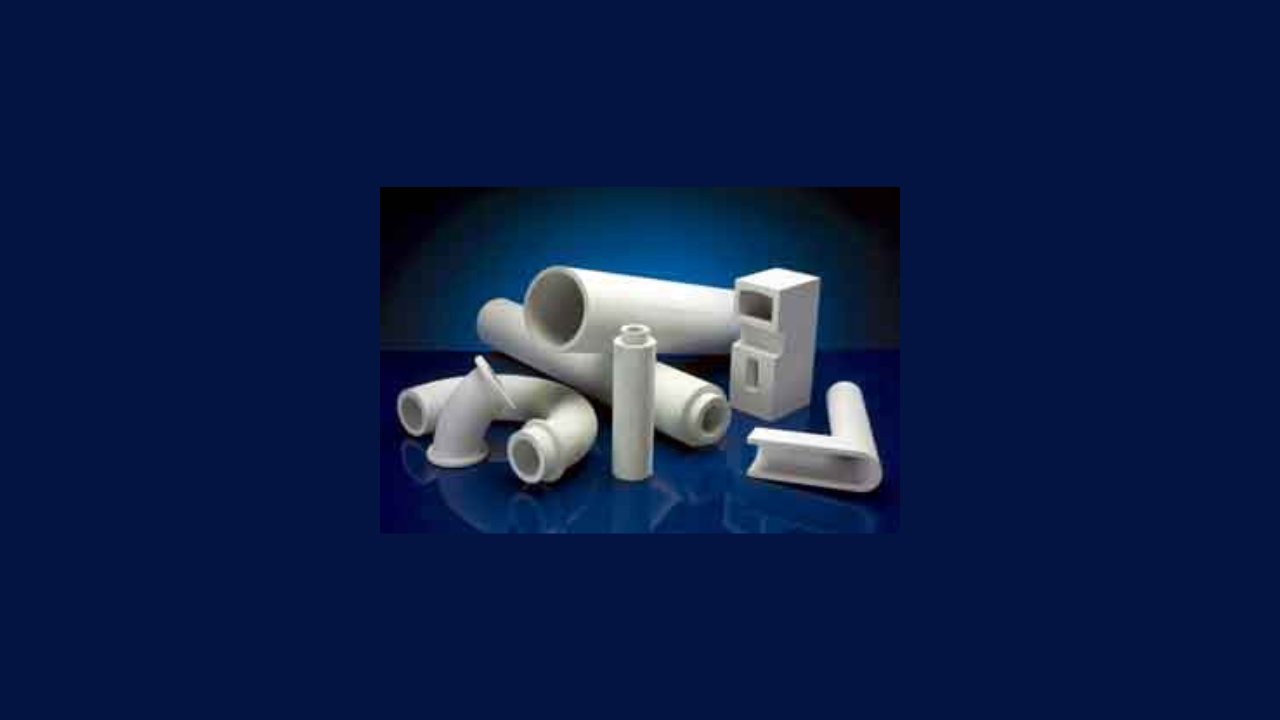
Hidden from view in a typical coal-fired power plant is a battle that never ends. Coal attacks steel and alloy components when the fuel is transported about the plant. Predictably, over time, the abrasive nature of coal will prevail against any metal surface because metal will eventually erode. The only opportunity for metal surfaces to have a fighting chance is to advance the secret weapon: ceramics.
Hidden from view in a typical coal-fired power plant is a battle that never ends. Coal attacks steel and alloy components when the fuel is transported about the plant. Predictably, over time, the abrasive nature of coal will prevail against any metal surface because metal will eventually erode. The only opportunity for metal surfaces to have a fighting chance is to advance the secret weapon: ceramics.
The most known concept to define reliability is: "Probability that an asset or system operates without failing during a given period of time under some operation conditions previously established." Sometimes, this concept is wrongly used due to the particular use given to the word failure. For many, failure only means shutdowns, so they construct complex mathematical formulas to calculate shutdown probability without taking into account that a failure also occurs when being inefficient, insecure and costly, having a high rejection level, or contributing to a bad image.
The most known concept to define reliability is: "Probability that an asset or system operates without failing during a given period of time under some operation conditions previously established." Sometimes, this concept is wrongly used due to the particular use given to the word failure. For many, failure only means shutdowns, so they construct complex mathematical formulas to calculate shutdown probability without taking into account that a failure also occurs when being inefficient, insecure and costly, having a high rejection level, or contributing to a bad image.
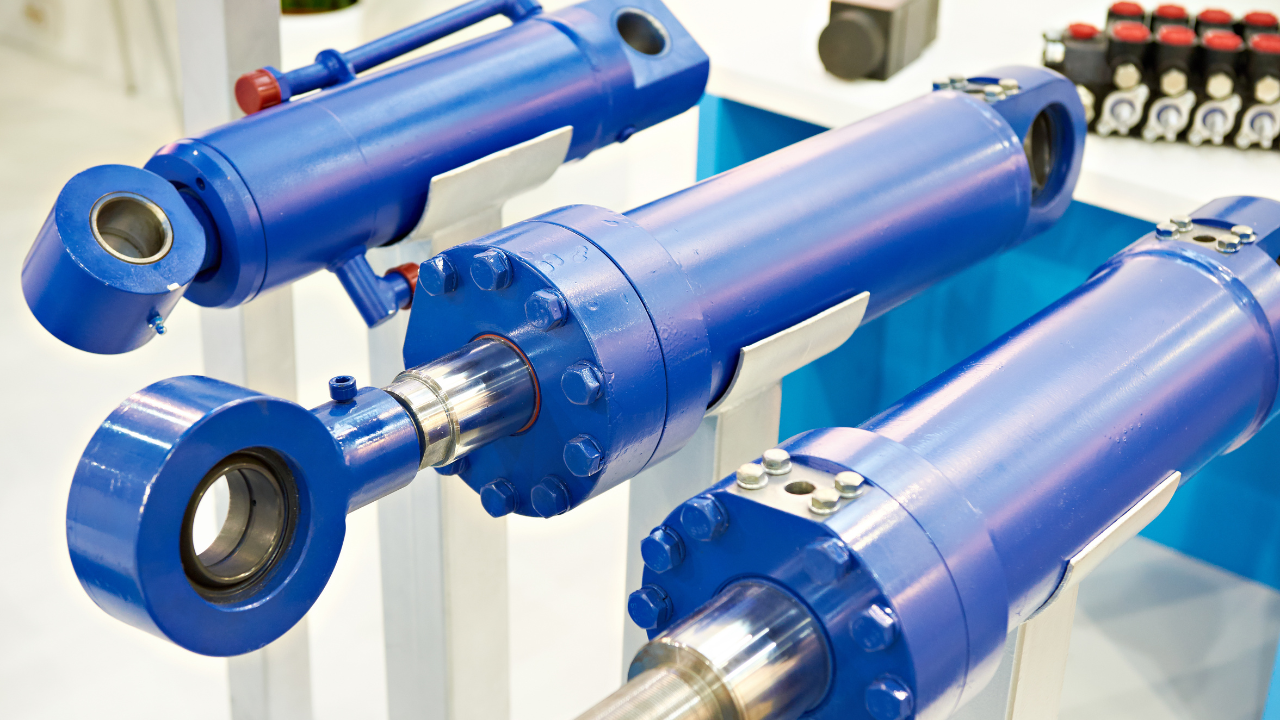
I was recently engaged by a client to conduct failure analysis on a large (and expensive) double-acting cylinder off a hydraulic excavator. This cylinder had been changed-out due to leaking rod seals after achieving only half of its expected service life. Inspection revealed that apart from the rod seals, which had failed as a result of the 'diesel effect', the other parts of the cylinder were in serviceable condition. The diesel effect occurs in a hydraulic cylinder when air is drawn past the rod seals, mixes with the hydraulic fluid and explodes when pressurized.
I was recently engaged by a client to conduct failure analysis on a large (and expensive) double-acting cylinder off a hydraulic excavator. This cylinder had been changed-out due to leaking rod seals after achieving only half of its expected service life. Inspection revealed that apart from the rod seals, which had failed as a result of the 'diesel effect', the other parts of the cylinder were in serviceable condition. The diesel effect occurs in a hydraulic cylinder when air is drawn past the rod seals, mixes with the hydraulic fluid and explodes when pressurized.
The world is increasingly turning towards renewable energy solutions to combat climate change and create a sustainable future. Solar engineering, one of the most promising fields in this energy transition, taps into the inexhaustible power of the sun. This comprehensive FAQ will delve into the key aspects of solar engineering, answering common questions and shedding light on this pivotal technology.
The world is increasingly turning towards renewable energy solutions to combat climate change and create a sustainable future. Solar engineering, one of the most promising fields in this energy transition, taps into the inexhaustible power of the sun. This comprehensive FAQ will delve into the key aspects of solar engineering, answering common questions and shedding light on this pivotal technology.
The cost per kWhr, the "cost of producing electricity", is the cost of the energy which is taken out of the steam by the turbine generator system and converted into electricity. The following paper discusses calculation methods for determining this cost -- a critical step in the process of evaluating cogeneration feasibility.
The cost per kWhr, the "cost of producing electricity", is the cost of the energy which is taken out of the steam by the turbine generator system and converted into electricity. The following paper discusses calculation methods for determining this cost -- a critical step in the process of evaluating cogeneration feasibility.